 We know how exciting it is to get your new website up and running so we have created this guide to help you start engaging with your audience quickly.
Before you start you will need to have already set up your web hosting and have completed your Wordpress installation.
If you haven't done these already we have created step by step guides to make it simple to get this done quickly.
The first guide shows you how to set yourself up with quality web hosting quickly and economically.
And the second shows you how to get Wordpress installed quickly.
Once this is done we can get started with making your new website look and feel how you want it to, and add some content.
Log into your WordPress Dashboard.
Go to http://www.yourdomain.com/wp-admin (replacing “yourdomain.com” with your own domain) and you will see a Wordpress login screen.

Login using your admin username and password and you will be taken to your Wordpress dashboard.

Change Your Theme
The first thing we are going to do is to change the overall look and feel of your site by changing the theme.
Choose appearance > Themes from the left-hand side of the screen.
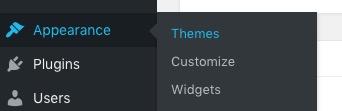
You will be taken to a page which shows the themes installed on your site and also shows you which theme is currently active.
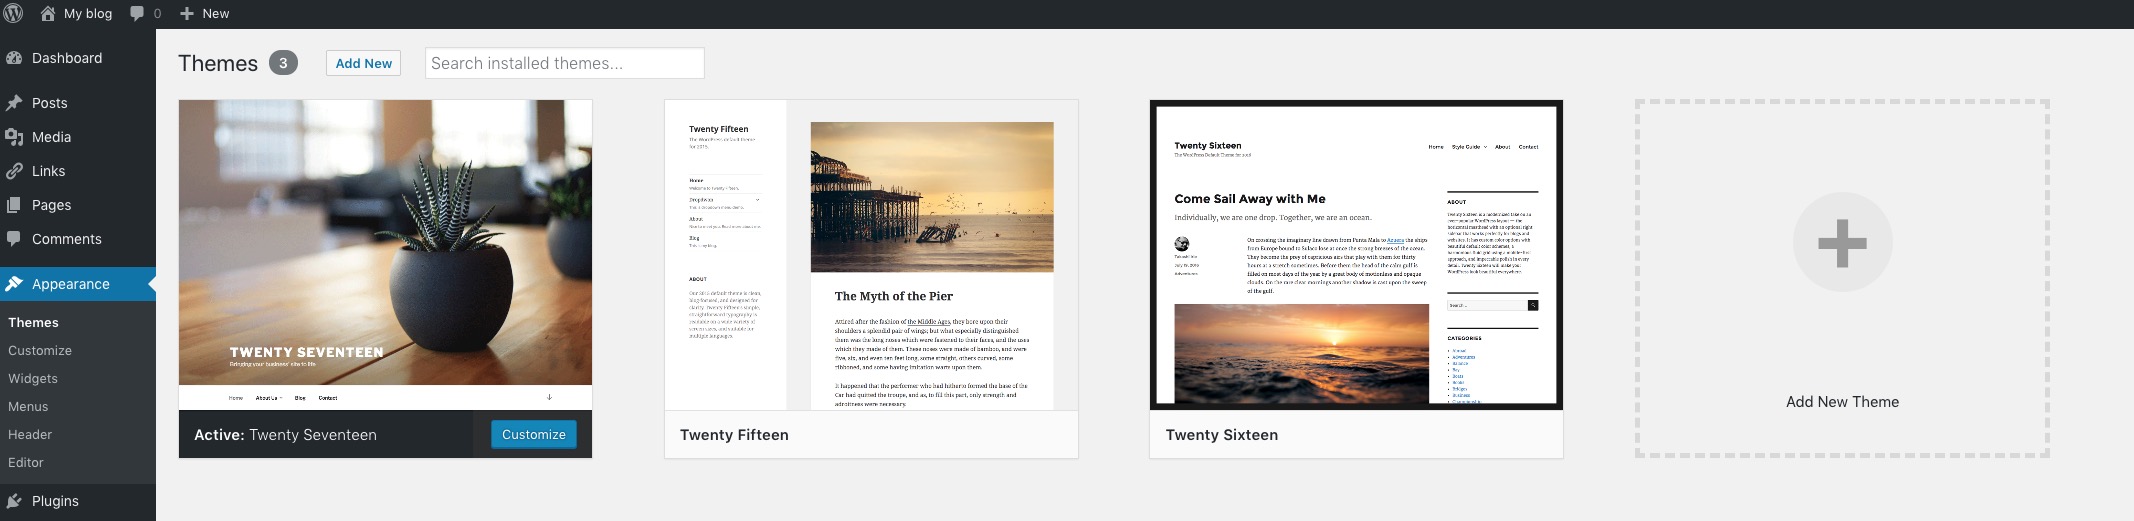
Grab a coffee now if you want one and click Add new theme.
You will be shown a page that allows you to browse thousands of themes.
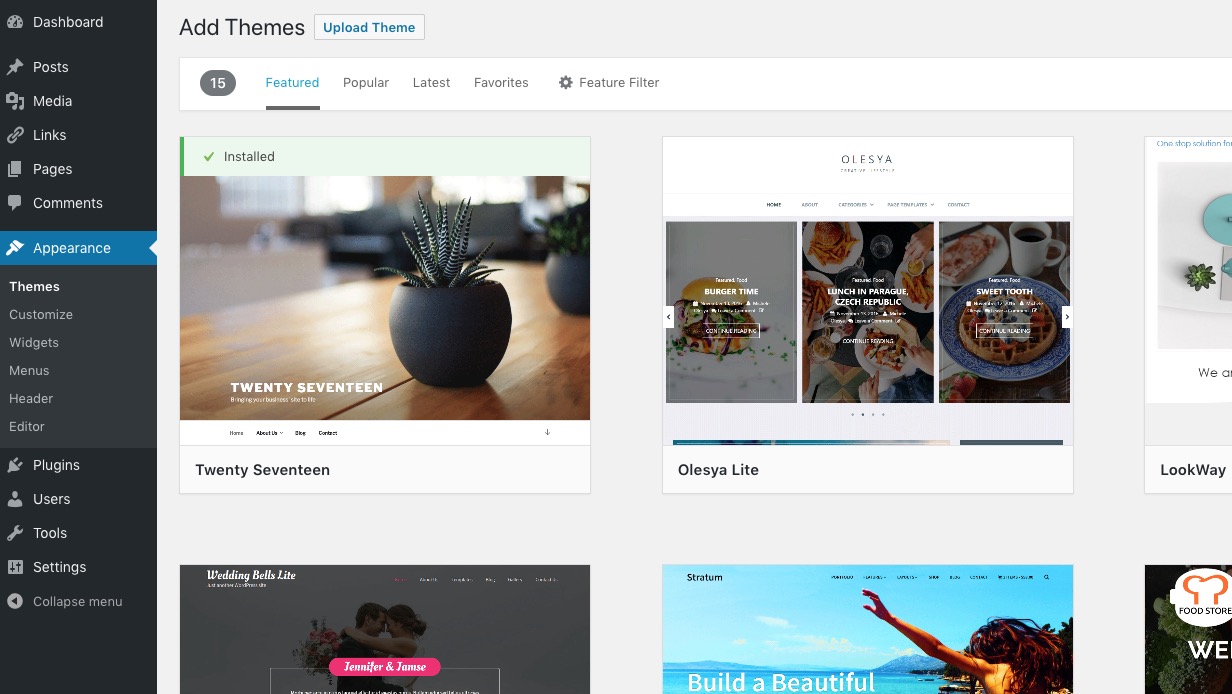
It's possible to get lost for hours finding that perfect theme for your website but I'd suggest you click on the 'popular tab' and find something you like quickly.
You don't need to worry about selecting the wrong theme because you can always change it later.
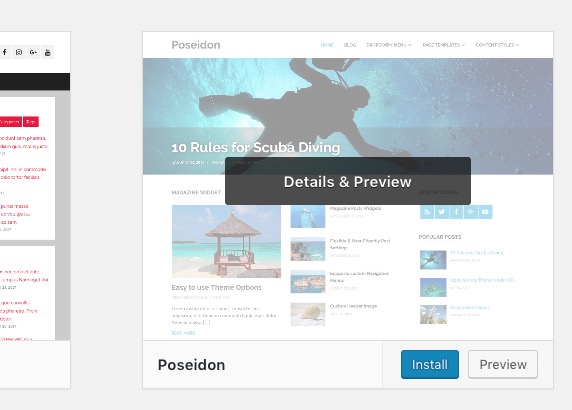
Once you have found a theme you like mouse over it and click the install button that appears.
After a few seconds, the installation will complete and an activate button will display.
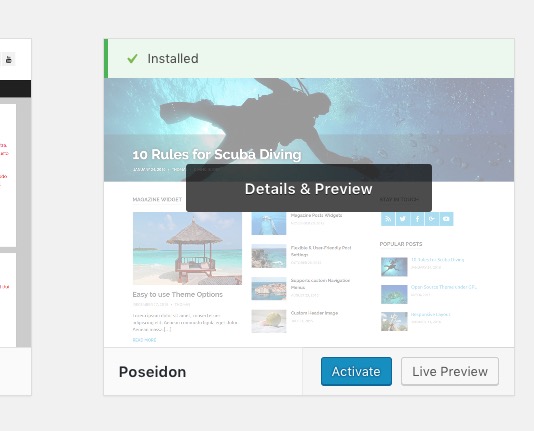
Click on the Activate button to make this your active theme and you will be taken back to the main theme page.
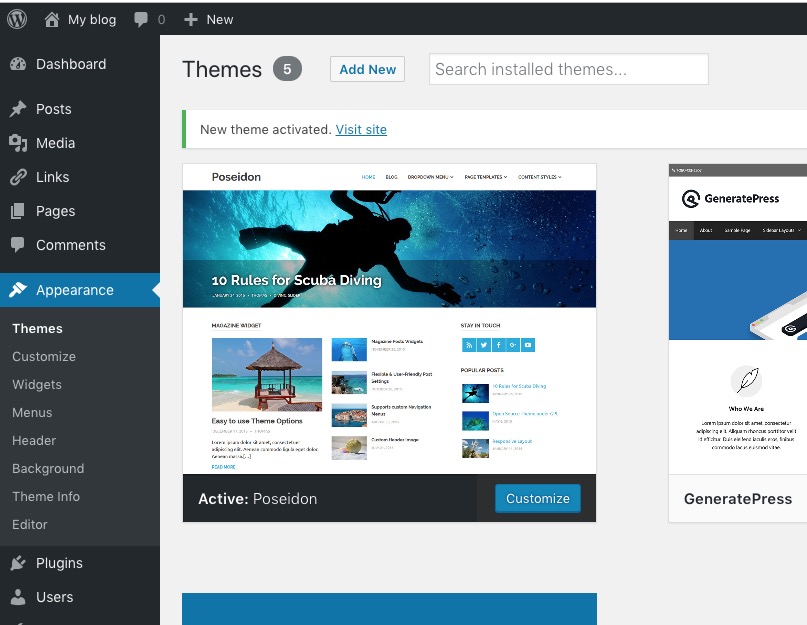
If you visit your website now you will see that the new theme has been activated and you will probably find it doesn't look that great yet.
Don't worry about customizing the theme or modifying any other settings just yet we do that after your site has a little content on it.
Add some content
The next thing to do is to add some content to your site so we are going to show you how to add a blog post to the front page and a new about us page which can be accessed from the main menu.
Add a blog post
To add your first blog post go to the top left corner of the dashboard and click on new.
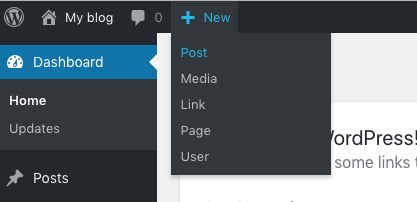
A simple form that allows you to add a new post will appear.
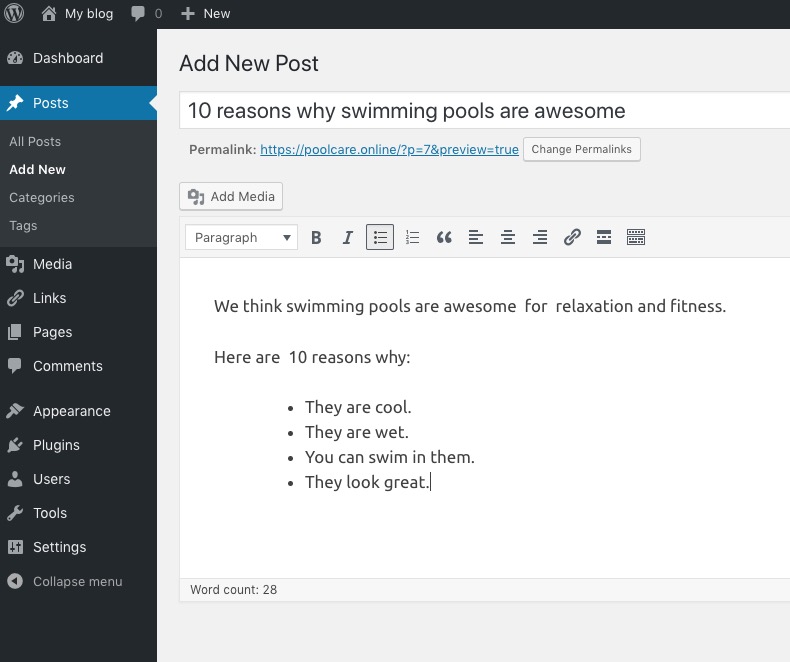
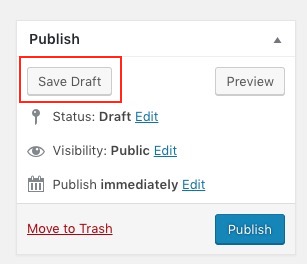
Add a title and some body content then click Save Draft.
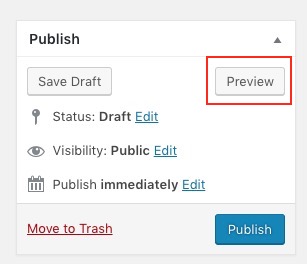
Preview your post by clicking preview.
A new page will open and will show you how your new post looks, our new post looks like this.
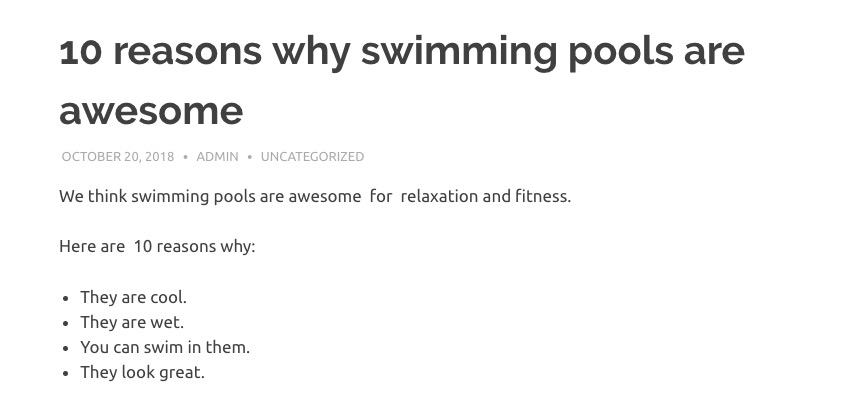
Its no masterpiece but looks ok for 30 seconds typing.
Have a look around the editing interface and you will see all sorts of tools that allow you to change the layout and appearance of your new post.
Our post is looking a little plain so the next thing we are going to do is add a featured image to it.
Go back to the edit post page.
Go to the bottom right-hand corner of the page and click on set featured image.
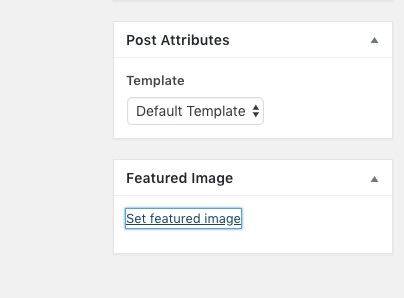
A page that allows you to select an image to upload will open.
Click on Select Files, Select the image you want to add to your post and then click open.
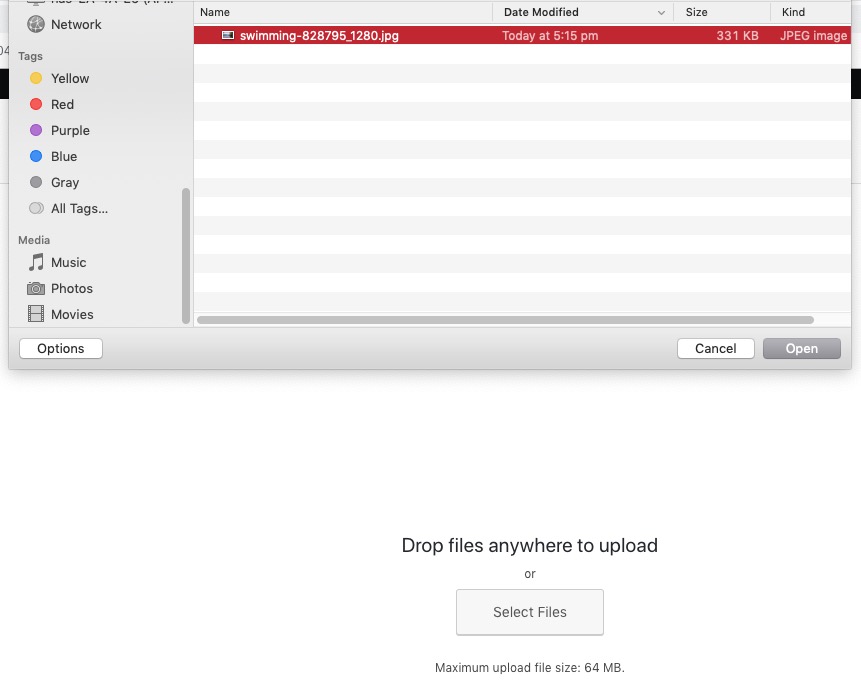
The image will upload and become available in the gallery after a few seconds.
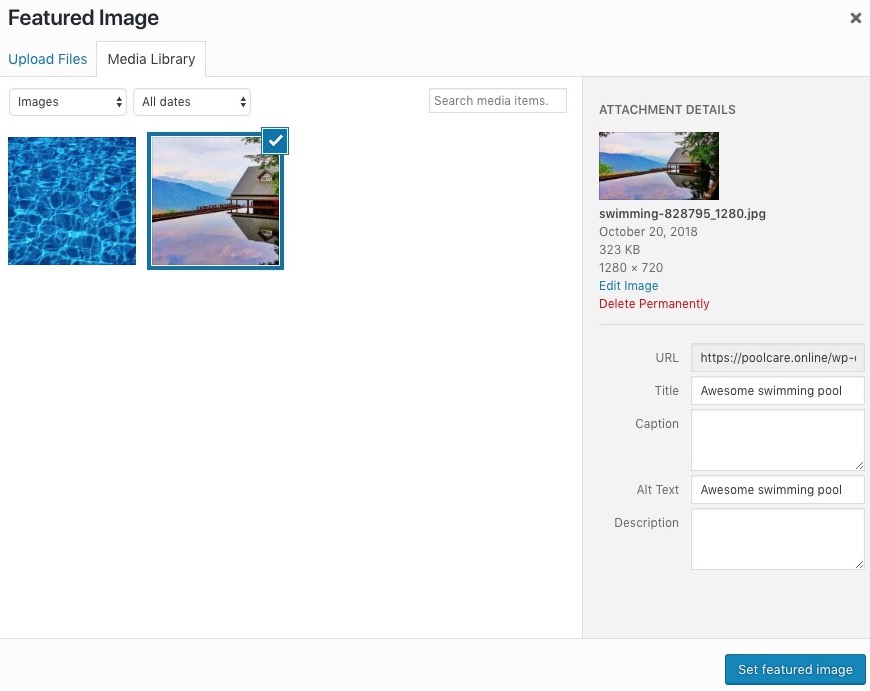
Add a title and some alt text that describes the image and then click set featured image.
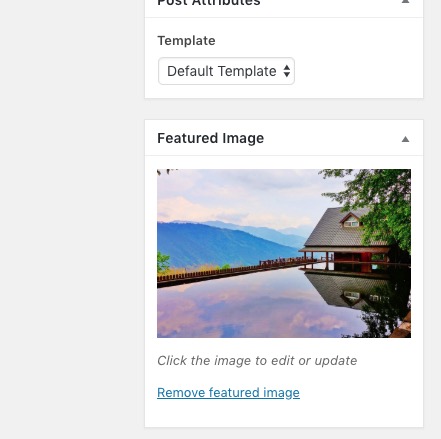
Once this is done you will now see a featured image in the bottom right-hand corner of your post.
Depending on the theme you have selected this may be all that is required to make images show up in your posts and blogs.
The following theme customization steps are specific to the Poseidon theme skip them if you are not using the Poseidon theme.
For the Poseidon theme that we have selected featured images do not display by default in blogs or posts so we need to make changes to enable them.
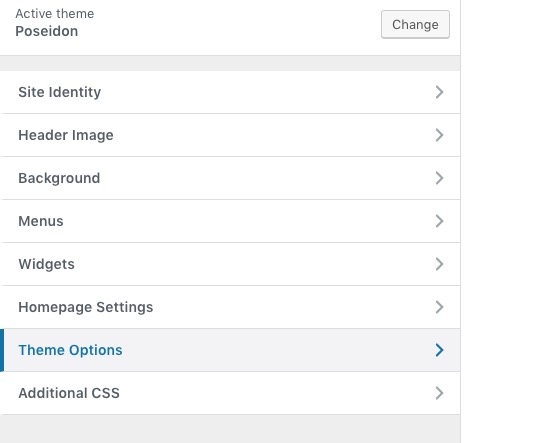
To do this click on appearance then customize from the side menu of your dashboard.

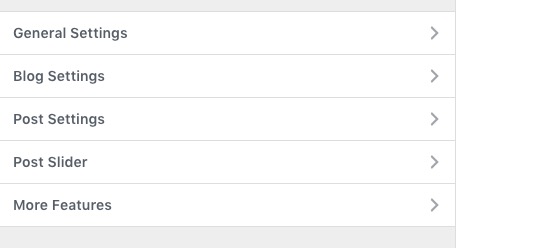
Select Theme Options from the next page
Click on blog settings
You will be taken to a page where you can change the appearance of your blog.
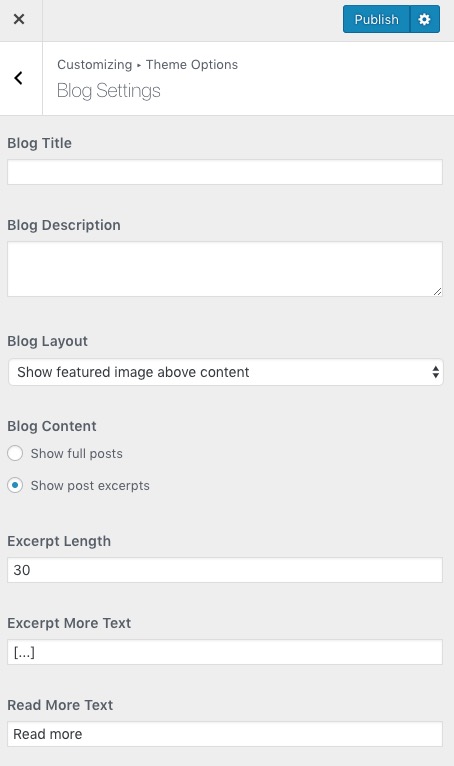
Select the "Show featured image above content" option so that the featured image for a post will display above post text when it is displayed in a blog.
Click Publish to save your new settings.
Go back to the theme options page and click on post settings
You will be taken to a page where you can change the appearance of your posts.
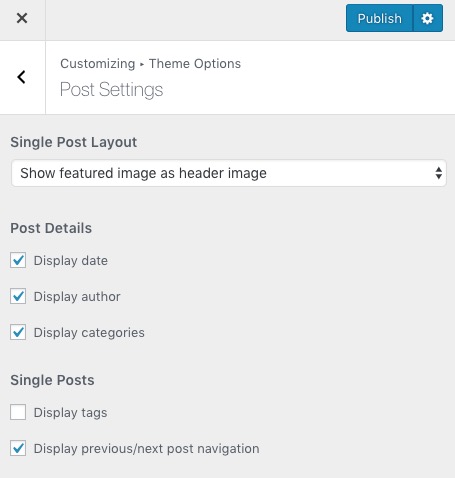
Select the "Show featured image above content" option so that the featured image for a post will display above the text when it is displayed.
Click Publish to save your new settings.
This is the end of the theme customization steps that are specific to the Poseidon theme.
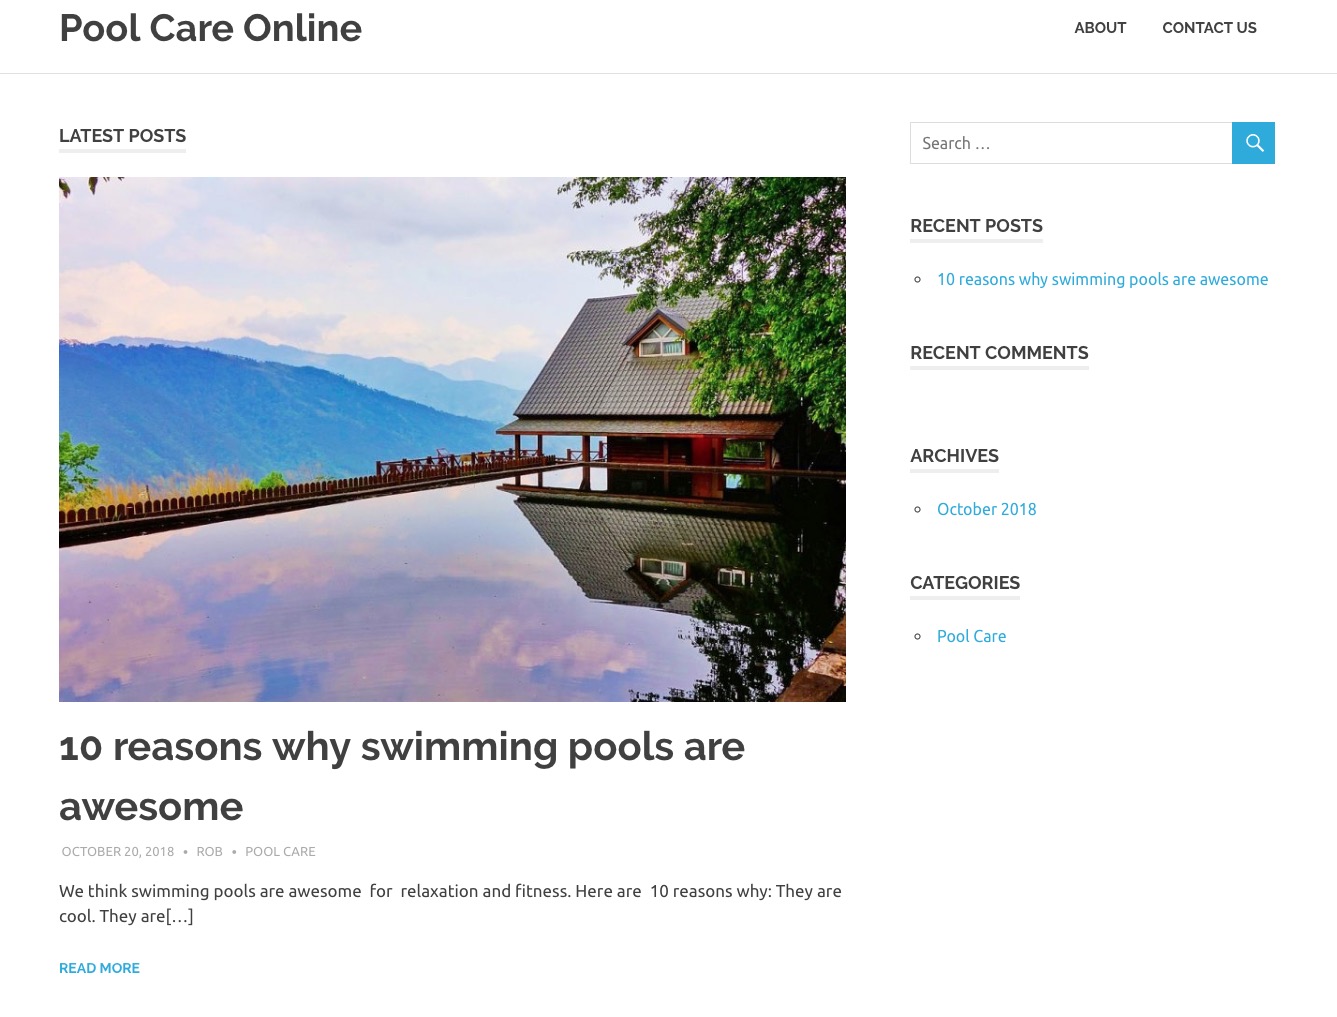
This is how our updated blog page looks with the featured image displayed.
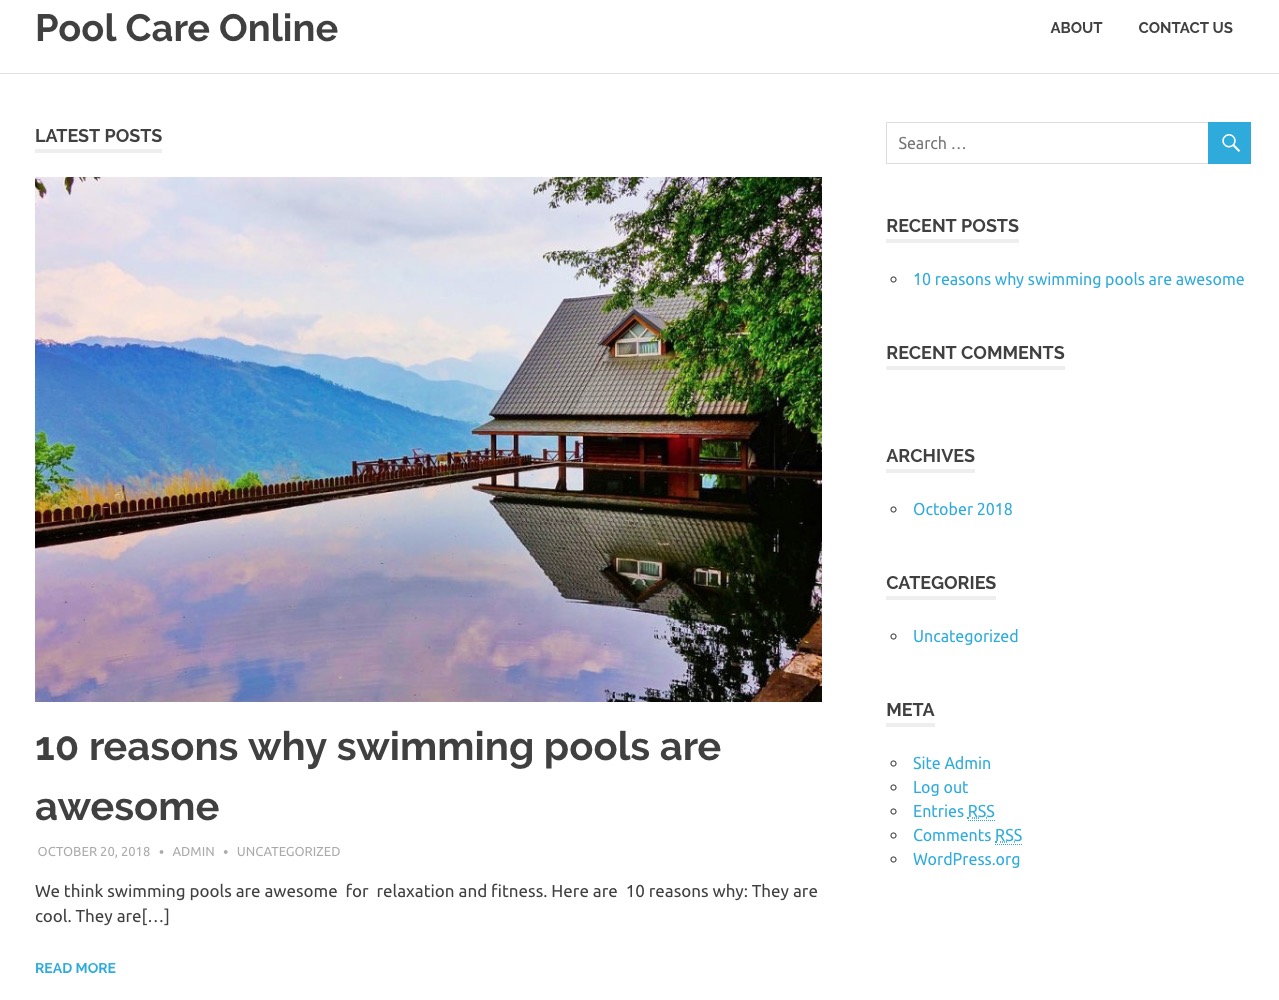
And this is how our updated post looks with the featured image displayed.
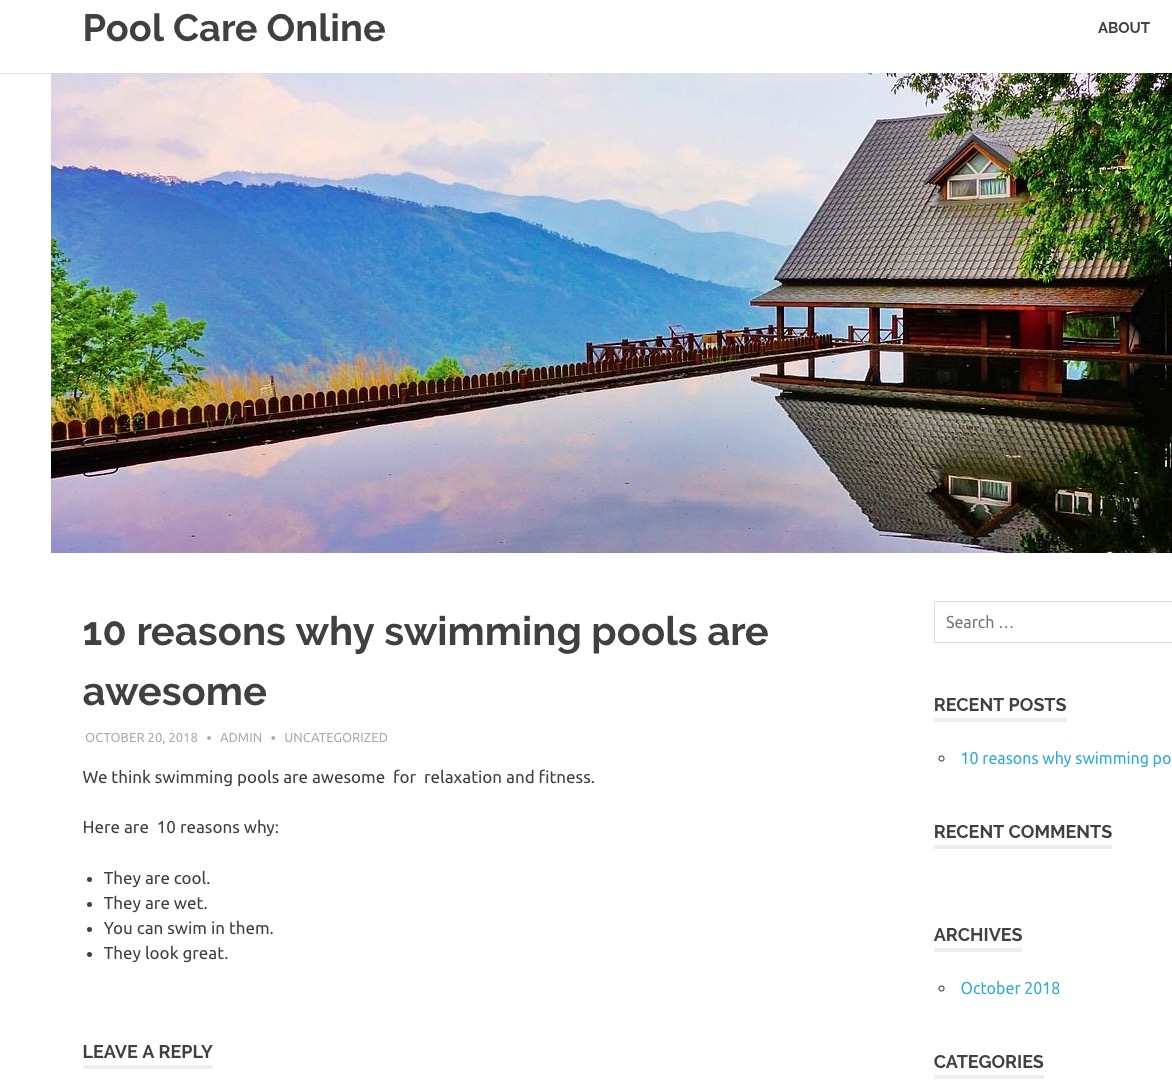
Things are starting to look much better now.
Adding a new page
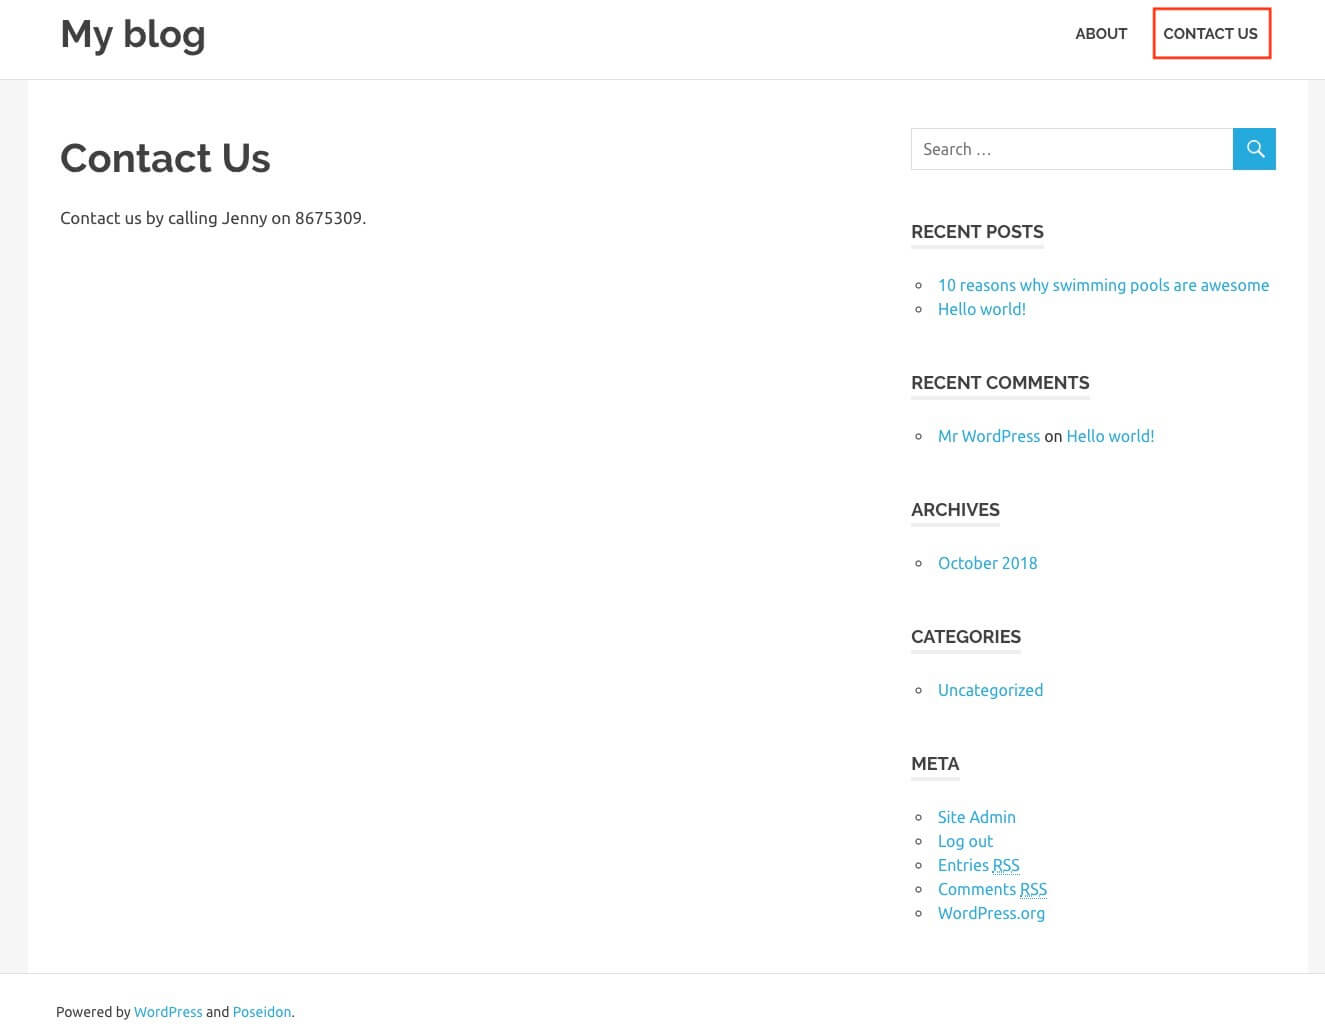
Next, we are going to add a simple "contact us" page which will also have a link in your site menu that allows visitors to navigate to it.
To do this Mouse over new and then click on-page.
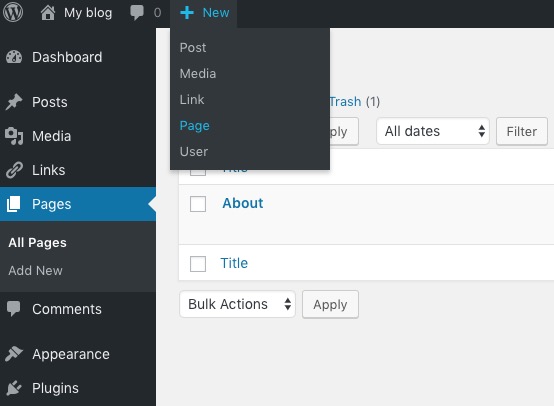
A simple form that allows you to add a new page will appear.
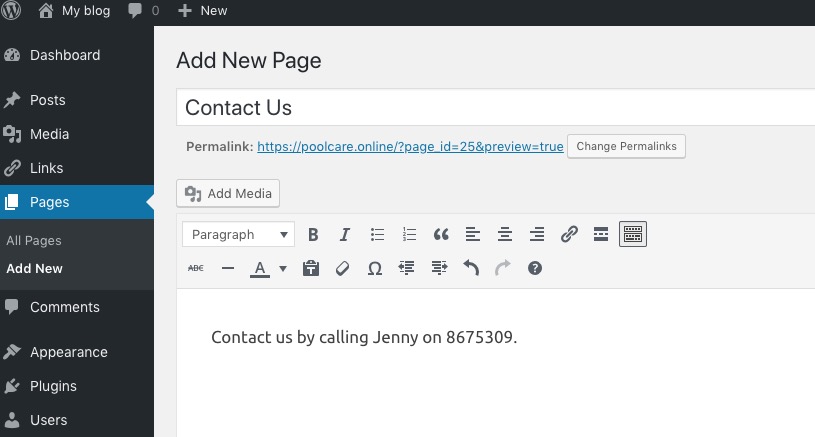
The only thing to remember here is that the title of your page will also be the name of the menu that visitors to your site see.
Other than this it is basically identically to adding a post so go ahead and add your new page content and then click Publish.
Browse to your new site and you will see a new menu item, click on the new menu item and you will see the new page that you have created.
Congratulations, you have just added your first content to your new website.
I'm sure by now you have noticed that there is still quite a bit of customization that needs to happen before your new site is ready to be presented to the world
Customizing your website
By now you will probably have noticed that there are a few things like default content, the site title, the format of your links, and a bunch of other stuff that you would like to change before you launch your new site.
We will start by making changes in the settings area of your WordPress dashboard.
General Settings
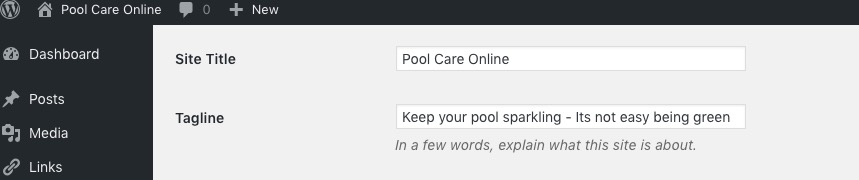
Click on settings and you will be taken to the general settings page.
Change the title and tagline for your site and save changes.
Permalink Settings
The default link format when you install WordPress looks something like:
https://poolcare.online/?page_id=25
Which isn't really meaningful when you see it so we are going to change it to something easier to read.
To do this mouse over the Settings menu and click on the permalinks submenu
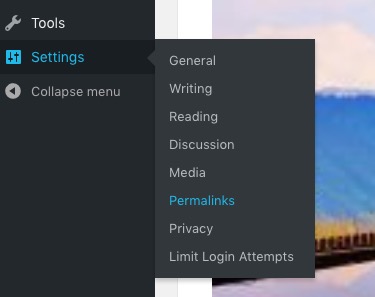
You will be taken to a page that lets you change the format of your site URLs
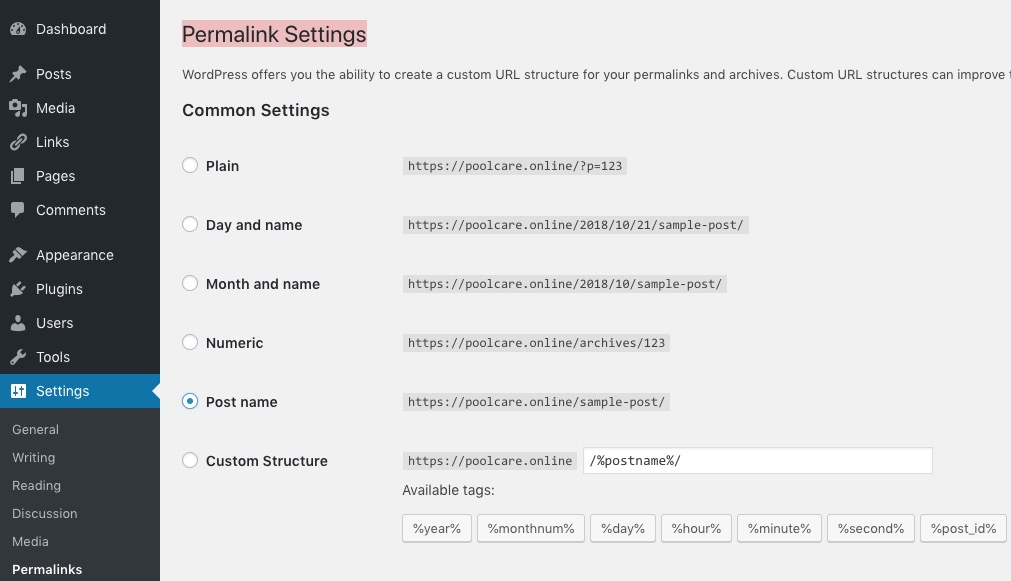
Select the post name option and click save changes.
This will give us URLs that look something like:
https://poolcare.online/10-reasons-why-swimming-pools-are-awesome/
Which are much easier to read and provide an idea of the content it is linking to.
Deleting unwanted content
There are some basic articles and comments added into a site as a part of the standard WordPress installation process which needs to be cleaned out.
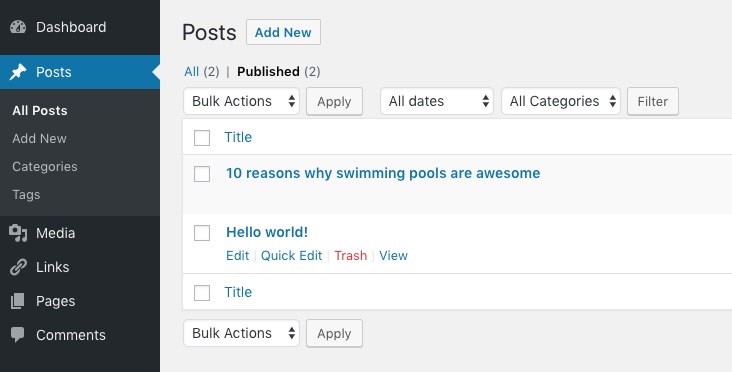
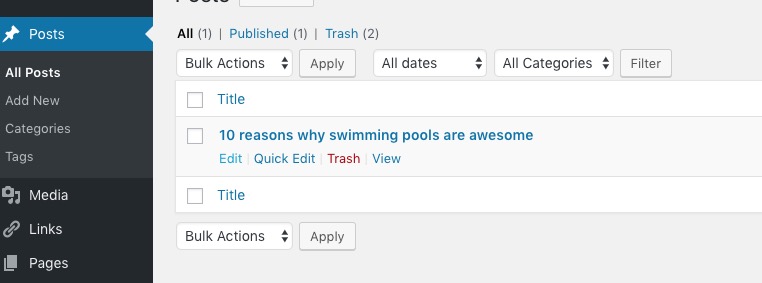
Click on posts and you will be taken to a list of posts.
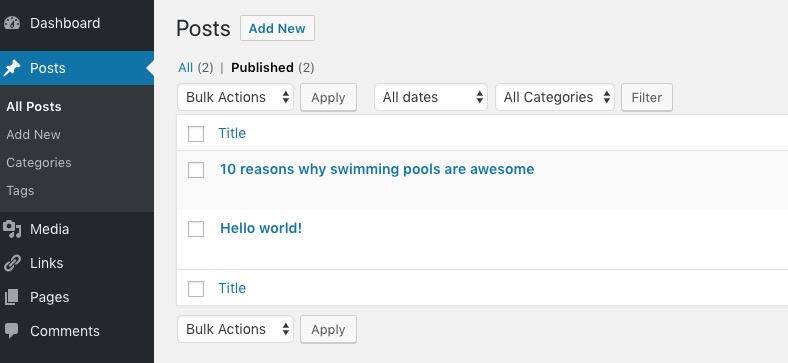
Mouse over any posts you want to remove and click trash to unpublish them and move them into the trash folder.
You will then be taken to a page confirming that the post has been moved to trash which means that it will not display any more.
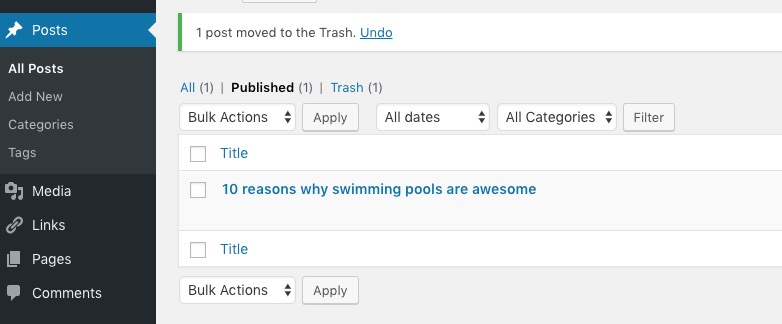
This will also remove any comments that were made on the posts.
Remove the Meta Menu
The Meta Menu that is installed by default isn't really helpful to visitors and contains a link to our admin area so we are going to delete it.
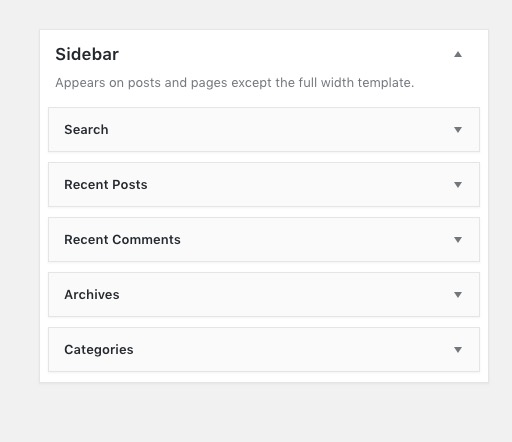
Select Appearance -> Widgets from the dashboard side menu.
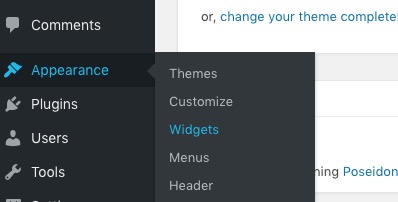
Locate the Meta widget and click on it.
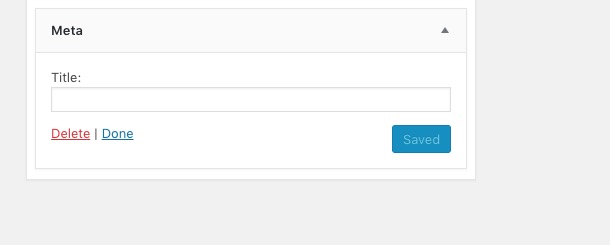
Click on Delete and the widget will be removed.
Change Your Display Name
You will notice that your posts display the author as being Admin which isn't a very personal touch so we are going to change the name that gets displayed.
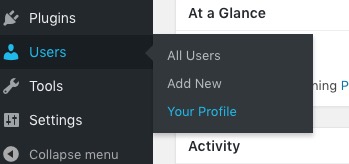
Select Users -> Your Profile from the dashboard side menu.
Change your First Name, Last Name, Nickname, and Display name as desired.
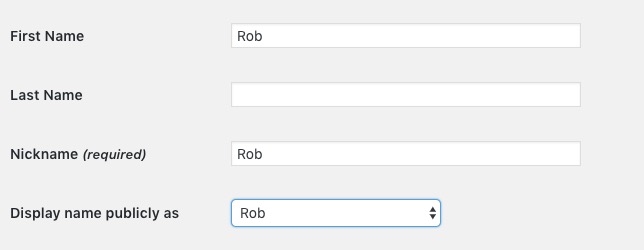
Click on update profile to save changes.
Move posts into meaningful categories
You will notice that your posts are in the "Uncategorized" category which isn't meaningful so we are going to create a new category and move our articles into them.
Go to posts, mouse over the post you would like to change the category for and click edit.
Go to categories and click add a new category
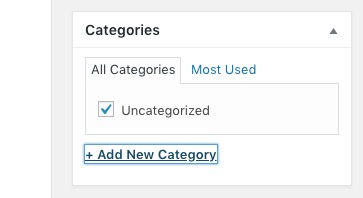
Type in the name of the new category you would like to add your post to.
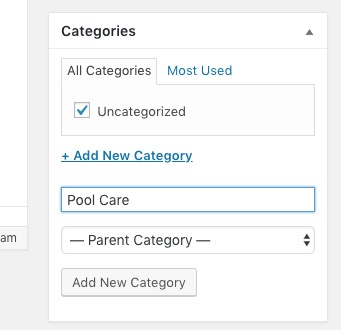
Click add a new category.
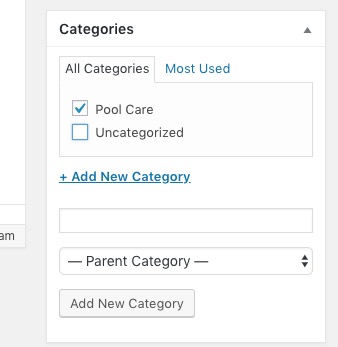
The list of available categories will refresh and the new category will be selected for your post.
Uncheck the Uncategorized category and click update.
Set up a site icon ( favicon ) for your blog.
Site Icons or favicons as they are also known to give your site a professional appearance and make your site easier to identify in browser tabs and bookmark lists.
WordPress makes the setup process really easy and we have created this guide to setting up favicons to make things easy for you.
Job Done!
This is how our new website looks now.
Your website is now ready for you to start creating content and sharing it with the world.